Back in the day’s when we all had our own Exchange server’s running on-premises, setting up printers to scan to email was a straightforward task. You’d point your printer at your mail server and away you go. Now that we’re all moving our mail to the cloud, it’s not so simple. In this post I’m going to cover how to setup an SMTP relay server.
Office 365 Receive Connector
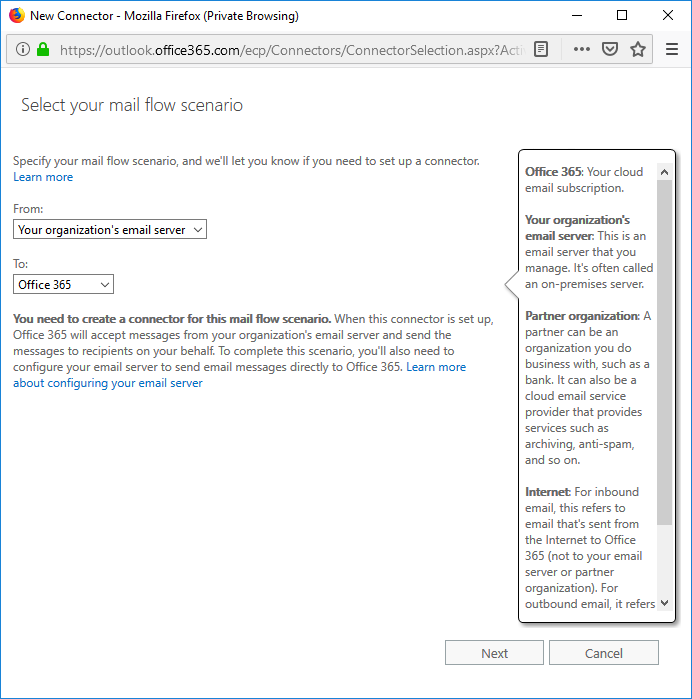
We need to setup a connector in Office 365 to allow it to receive email. To do this, log into the Exchange admin center and go to Mail Flow and select the Connectors tab. From here, click the + to add a new connector.

Follow the prompts to create a new connector. In the dropdown menu’s on the first page, select From: Your organization’s email server and To: Office 365.
Next give your connector a name.

Next step is to list the IP addresses that are allows to use this connector. Click + and enter your public IP address here

Confirm these settings are correct and click Save.

Smart Host Address
This is the address the SMTP relay is going to forward mail to. You can get this address from the 365 admin center. Under Setup in the left hand menu select Domains. Click on your primary domain to expand the info page. Take note of the MX record address, you’ll need this later

Installing the SMTP Relay Server
The first thing to do is to decide where to install the SMTP server role. Personally, I like to put it on my print servers. I figure that more often than not it’s going to be used by printers, so the print server is as good a place as any.
I also like to ad a CNAME in local DNS for smtp.domain.local pointing to my SMTP relay. This makes configuring printers super simple. Everything points to a logical address, but the reason I do this is so that in the future if I ever move the SMTP relay to another server I don’t need to worry about going back to all my printers to change their mail server details – just update the CNAME and everything continues to work.
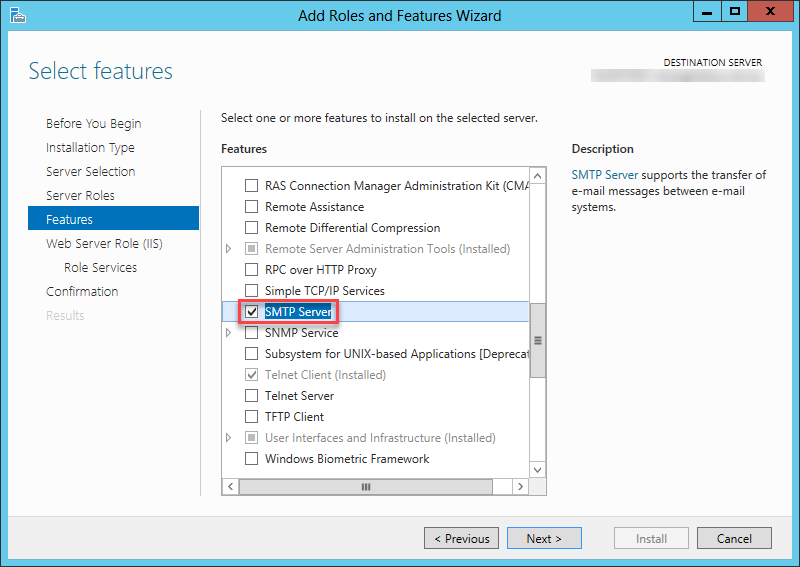
To install the SMTP Service, open Server Manager, select Add Roles and Features and select SMTP server from the Features list. Once that’s installed we can start to configure a few things.
Configuring SMTP server
Form the start menu, search for and launch IIS 6.0. Expend out the left hand menu and right click on [SMTP Virtual Server #1] and select properties. No changes to make on the General tab, so change over to the Access tab.
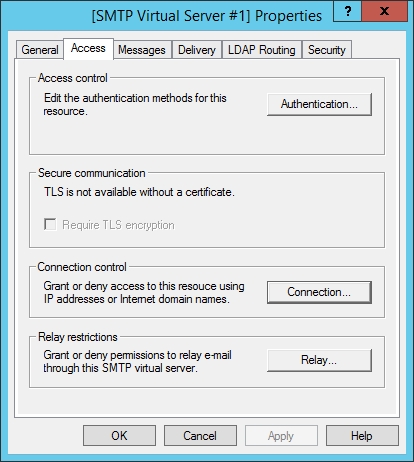
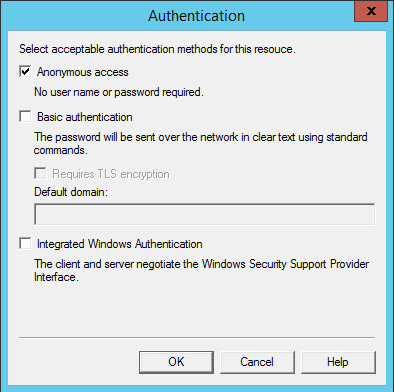
Select Authentication and make sure only Anonymous access is selected. This is so printers and devices can send to the relay without a username and password. Next we need to add the IP addresses of devices allowed to use this relay by clicking either Connection or Relay. There is a subtle difference here, but both achieve the same result. You can either place a restriction on which devices can connect to this SMTP server, or restrict those that are actually able to use it to relay. Set one option to All Except the List Below, and add IP addresses to the other. Or add IP addresses to the allowed list on both if you really want to lock this thing down.

Now jump over to the Delivery Tab.
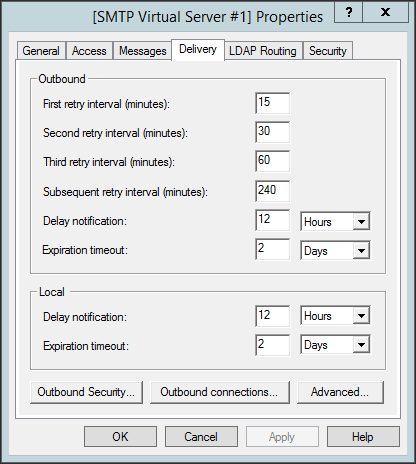
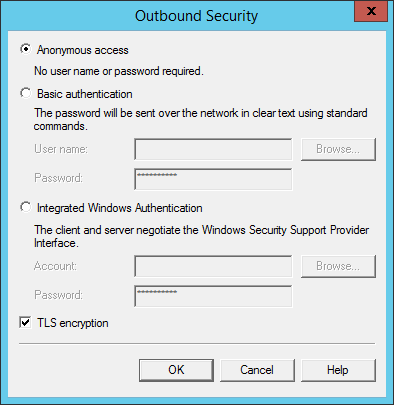
First thing to do here is click Outbound Security and make sure Anonymous access is selected. This allows us to send to Office 365 without having to provide a username and password.
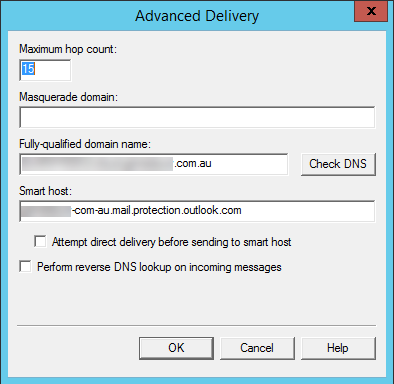
Now click the advanced button from the Delivery tab. Under Smart host, enter the MX record address you got earlier.
Final thoughts
The only thing left to do now is to configure your printers to use it and add a firewall rule to allow SMTP only from this server to Office 365.
I hope this helps. I’ve seen too many problems caused by trying to do authenticated email / direct send to Office 365. It’s much simpler to pass everything through a single server and not have to worry about devices that don’t support something-or-other, or having to deal with accounts that have expired
